 Record of Processing Activities
 Transfer Impact Assessment
 Privacy Impact Assessment
 Cybersecurity Controls
 Cybersecurity Risk Management
 Asset Inventory Management
 Interactive Awareness Program













Onboarding
GDPR Quick Start – Your First 30 Minutes — Docs
End-to-end scenario: onboard to Unicis Platform for GDPR in 30 minutes — import the framework, pick high-risk controls, and generate your first evidenced tasks.
This is an end-to-end scenario. Say you run an e-commerce site and need to demonstrate GDPR compliance. Here’s how to go from a blank Unicis workspace to three assigned, evidence-tracked tasks in about 30 minutes.
Step 1 — Enable the GDPR Framework
- Navigate to CSC (Cybersecurity Management System) in the sidebar
- Select GDPR from the framework picker
- The GDPR control set loads, organized by article
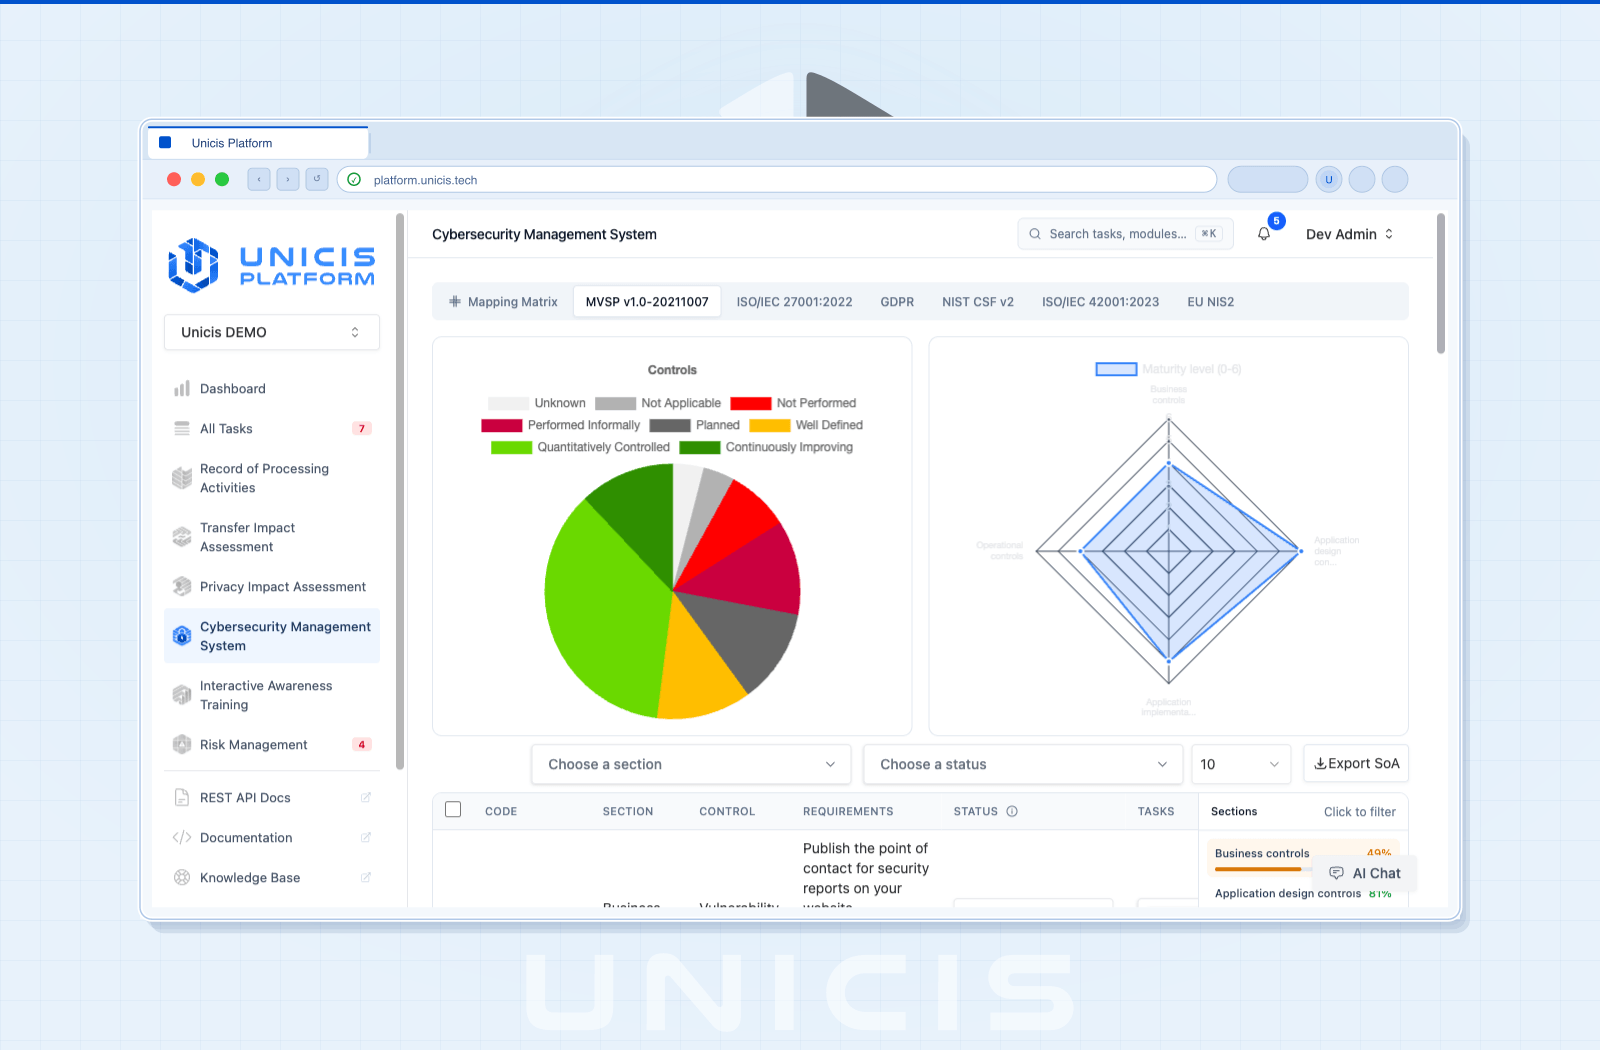
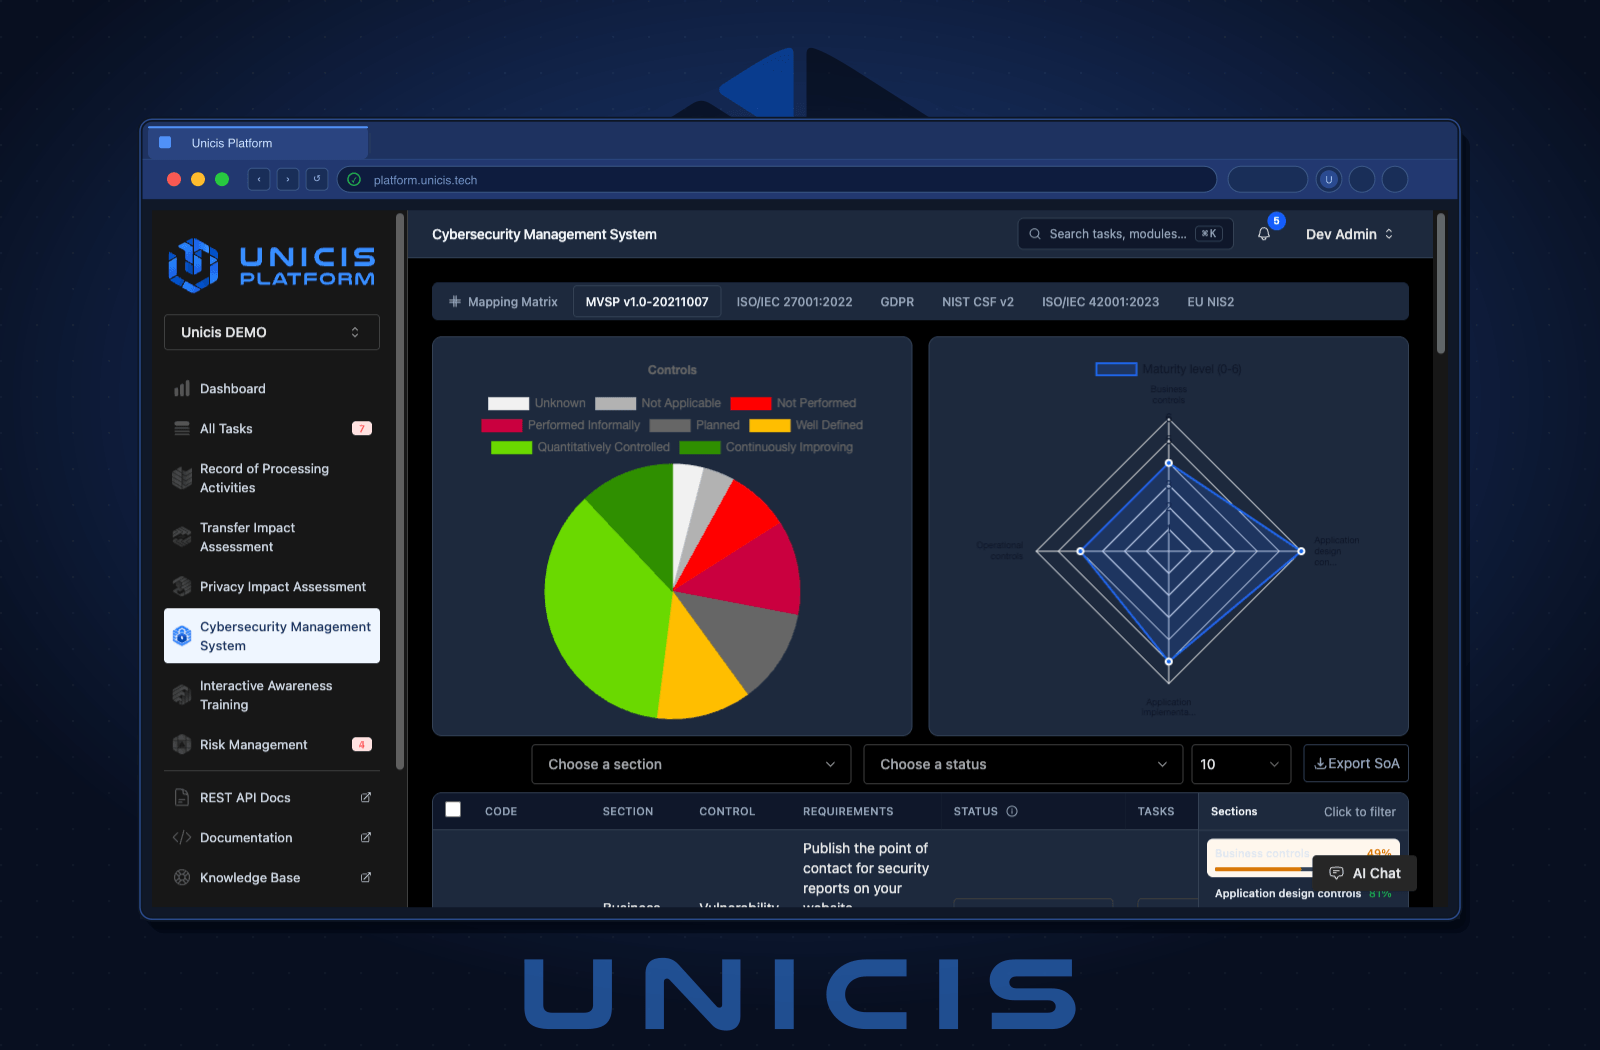
GDPR is available on every plan, including Community. See the full Supported Frameworks list if you plan to add more later.
Step 2 — Pick 3 High-Risk Controls
For an e-commerce site handling customer data, three controls typically matter most on day one:
| Control Area | GDPR Article | Why It’s High-Risk First |
|---|---|---|
| Security of Processing | Article 32 | Covers encryption, access control, and incident handling — the technical baseline |
| Records of Processing Activities | Article 30 | Required documentation of what personal data you process and why |
| International Transfers | Chapter 5 | Applies the moment you use a non-EU processor (payment, analytics, hosting) |
Use the Controls Table in the CSC dashboard to find each one — filter by section, or use the section navigation rail on larger screens. See CSC → Controls Table for column definitions.
Step 3 — Generate Tasks from the Framework
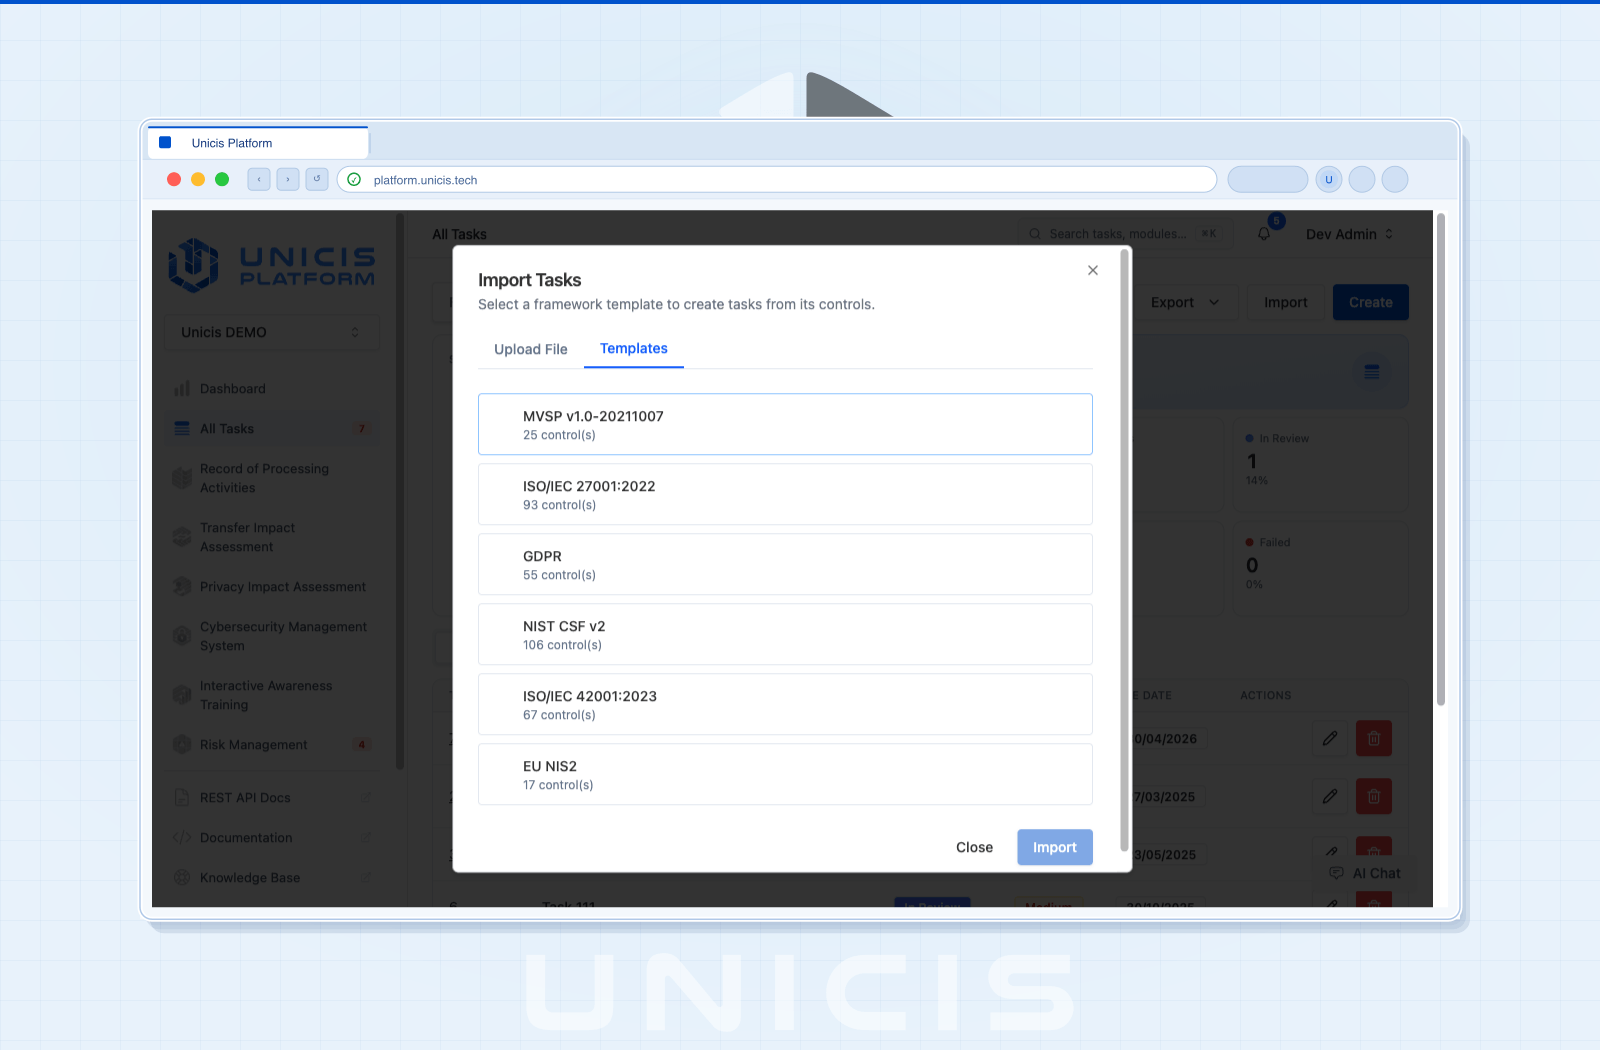
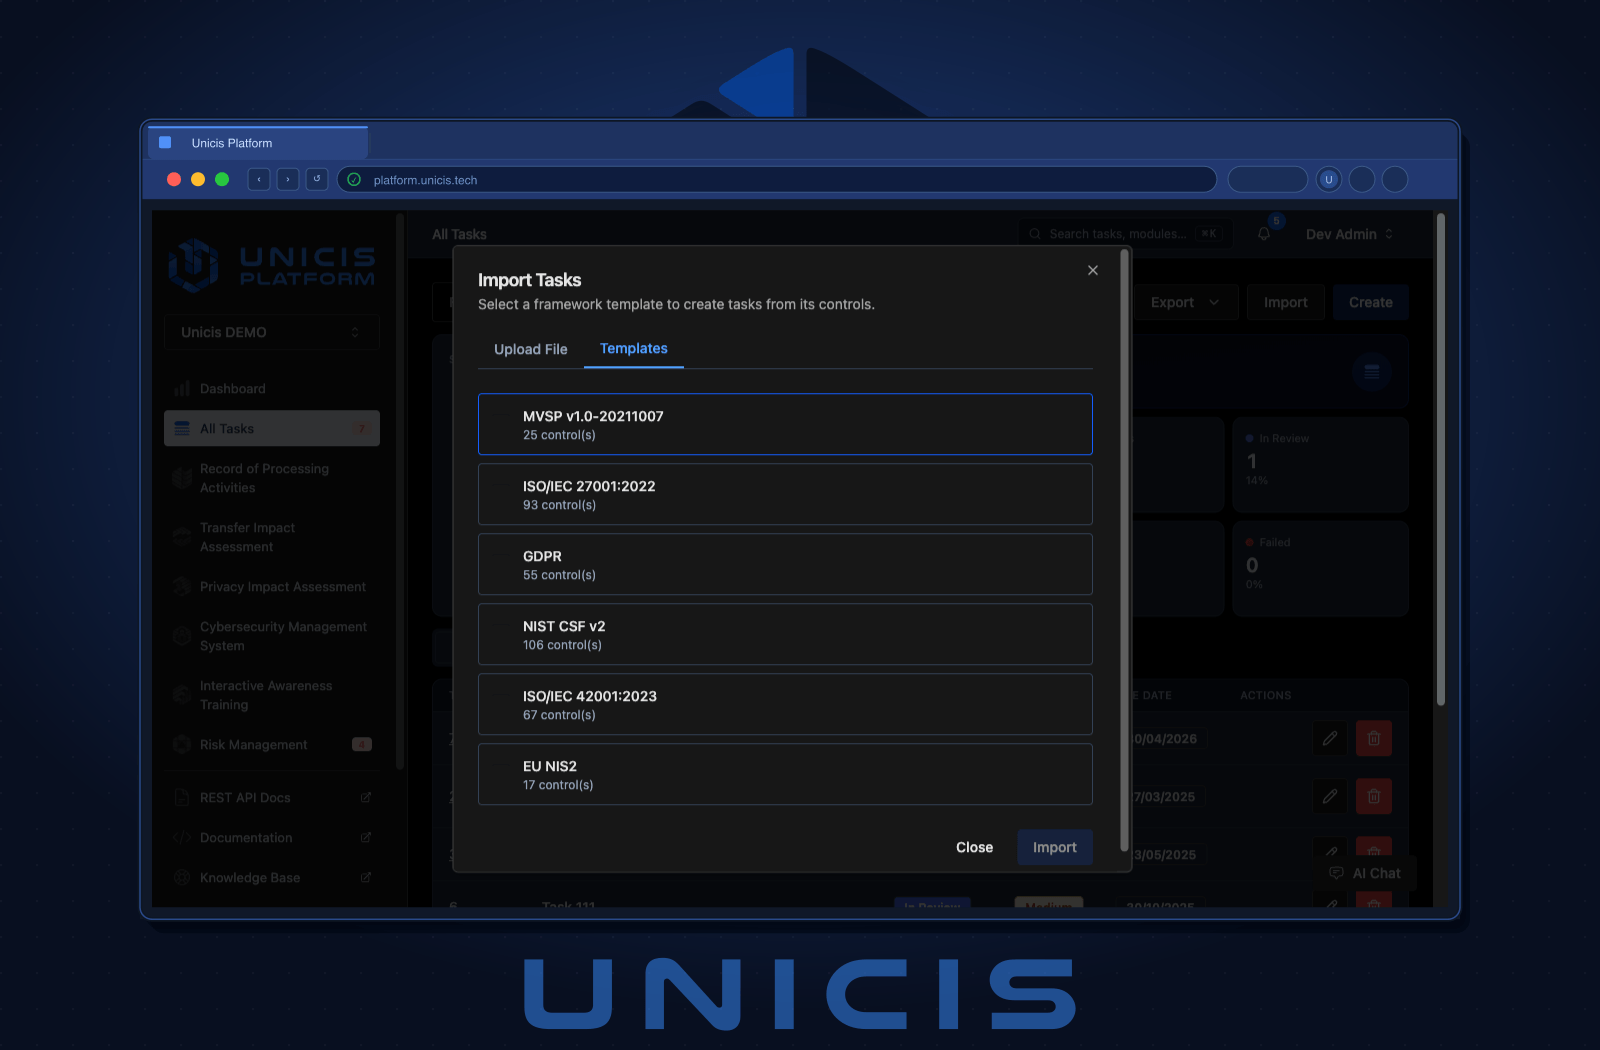
Rather than creating three tasks by hand, use Task Import Templates:
- Navigate to All Tasks
- Click Import from Template
- Select GDPR as the framework
- Confirm the import — a task is generated for each active control, pre-linked to it
Step 4 — Brief Your Team
Open each of the three generated tasks and post a comment naming who’s picking it up and by when — there’s no assignee field to set, so a comment is how the team coordinates (see Task Lifecycle). For the Article 30 task, consider also filling in a Record of Processing Activities (RoPA) directly from the task’s Processing Activities tab — it walks through five guided steps (Description & Stakeholders, Purpose & Categories, Recipients, Transfer, Security Measures). If the transfer step applies, follow up with a Transfer Impact Assessment (TIA) on the same task.
Step 5 — Attach Evidence
Each task needs proof, not just a status change. For the three controls above:
- Article 32 — attach your encryption policy and an access control screenshot
- Article 30 — the RoPA itself is your primary evidence; attach supporting DPAs
- Chapter 5 transfer — attach the TIA conclusion plus any Standard Contractual Clauses (SCCs)
Full walkthrough: Attaching Evidence & Building Your Audit Trail.
You’re Set Up
In roughly 30 minutes you’ve enabled a framework, generated evidence-linked tasks, assigned them, and started attaching proof. From here:
- Track progress on the Task Lifecycle — know when a task is actually done vs. just started
- Set up recurring tasks for periodic reviews so this doesn’t become a once-a-year scramble
Try this in the Unicis Platform
Community Edition is free and self-hosted. The Business Edition adds hosting, integrations and priority support.